前言 在學習或測試 Kubernetes(K8s)相關技術時,快速建立一個乾淨、可控又一致的環境是一項不小的挑戰。
Minikube 和 Kind 可以快速模擬 Kubernetes cluster環境,但前置的安裝、kubeadm 初始化 control-plane 、worker加入與設置網路插件(如 Flannel、Calico)等就無法實際練習
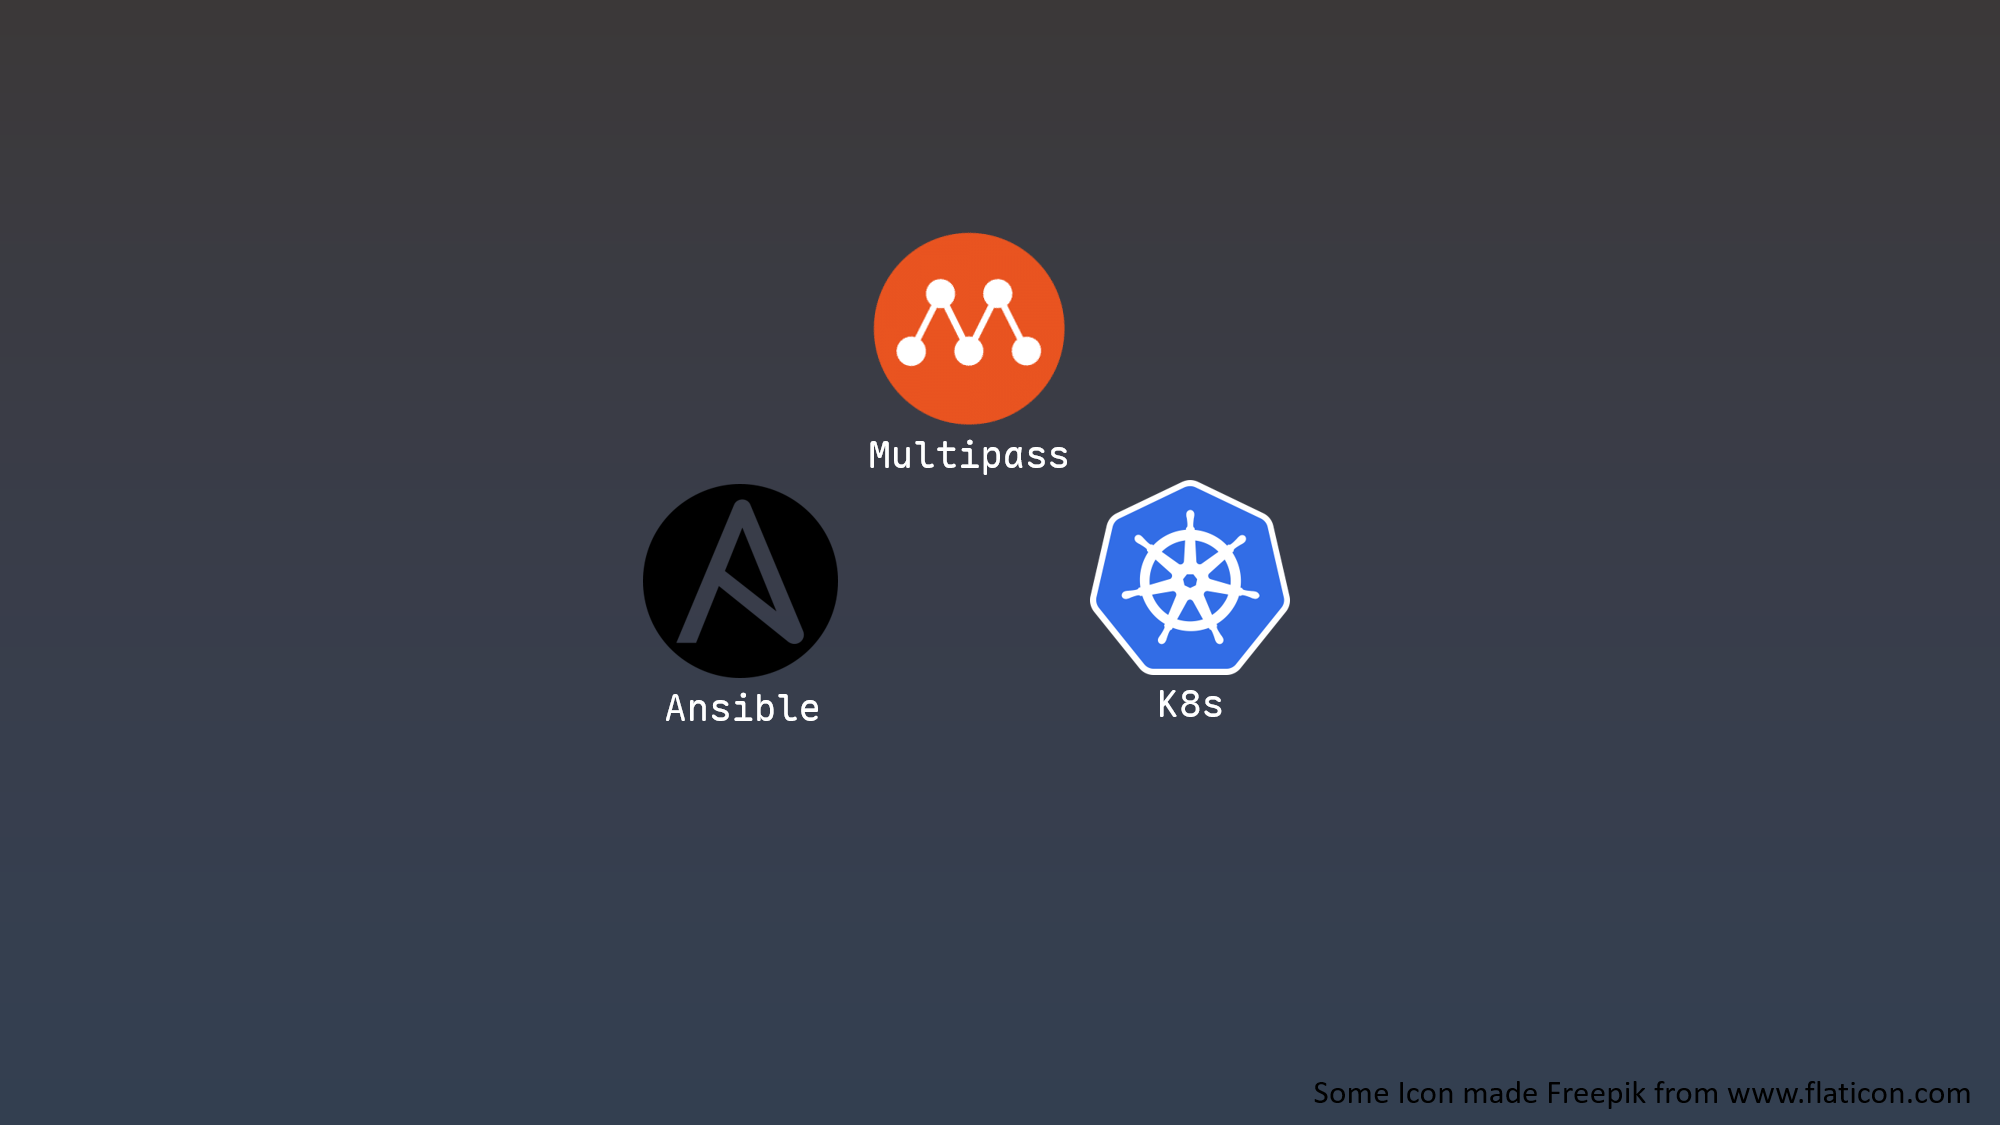
而Multipass 可以建立完整的 Ubuntu VM,模擬實際部署中的獨立主機。每個節點都有自己的 IP 與網路介面,能模擬真實內部網路通訊。
Ansible 可以管理多台 VM 並自動化配置各個角色下VM的設置
章節重點 Ansible 介紹 Multipass 介紹 Ansible + Multipass:快速佈建K8s環境 Multipass 介紹 Multipass 是輕量級的虛擬機管理工具,支援 Linux、Windows 和 macOS。能用一條指令就快速啟動一個全新的 Ubuntu 環境 在不同系統上,它使用不同的虛擬化技術:Linux 上使用 KVM、Windows 上使用 Hyper-V、macOS 上使用 QEMU,也可以選擇在 Windows 和 macOS 上使用 VirtualBox。Multipass 會自動為你下載 Ubuntu 映像檔並保持更新 此外,它支援 cloud-init 的 metadata,讓你可以在筆電或工作站上模擬一個小型的雲端部署環境 常用指令:
1 2 3 4 5 6 7 8 9 10 11 12 multipass launch --name node01 --cpus 2 --mem 2G --disk 10G multipass list multipass shell node01 multipass delete node01 multipass purge
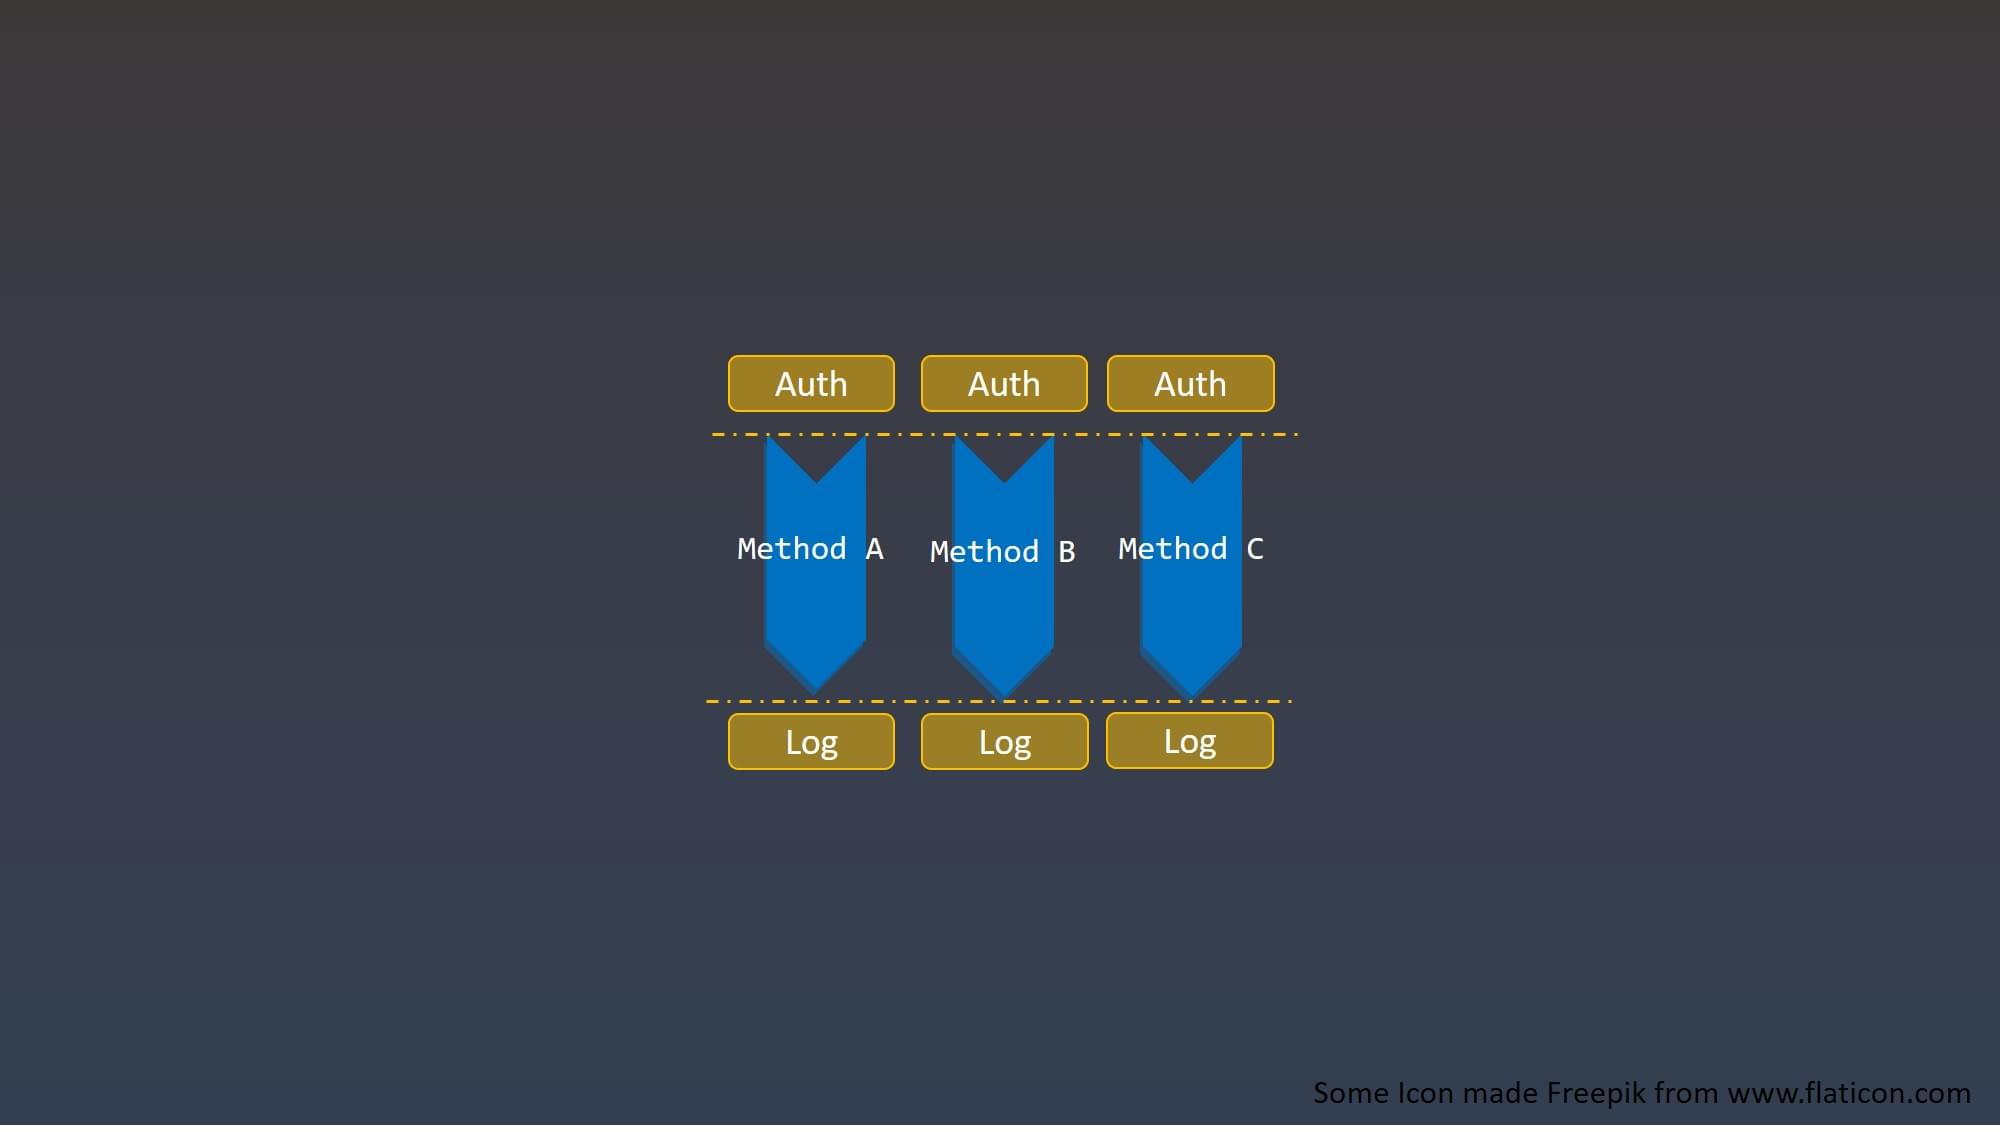
Ansible 介紹 Ansible 是一個基於 SSH 的自動化工具,不需在目標機器安裝 Agent,只要能 SSH 連進去即可進行遠端節點管理。
核心概念:
Inventory :管理主機清單Playbook :描述要對主機做哪些事的腳本(通常用 YAML 撰寫)Role :模組化 Playbook,便於重複使用與擴展Task :單一步驟操作,例如安裝套件、修改檔案等由於沒有安裝Agent的機制,不像其他Chef等,可以做到 防止配置偏移(Configuration drift) 的功能
Ansible + Multipass:快速佈建K8s環境 Ansible結構 本次範例中,採用Role的結構,將master和worker分成不同的role
group_vars 存放需要的環境變數
1
2
3
4
5
6
7
8
9
10
11
12
13
14
15
16
17
18
19
20
├── README.md ├── group_vars │ └── all.yml ├── inventory.template.yaml ├── inventory.yaml ├── roles │ ├── clean │ │ └── tasks │ │ └── main.yml │ ├── common │ │ └── tasks │ │ └── main.yml │ ├── master │ │ └── tasks │ │ └── main.yml │ └── worker │ └── tasks │ └── main.yml ├── setup.sh └── site.yml
Inventory設置 首先inventory是管理主機清單,而由於每次Multipass所建立的主機IP會浮動,這邊採用template方式設置基本設定,後續透過setup佈建時再改為實際的host IP
設置說明:
childrenansible_ssh_private_key_fileansible-playbook 時,會使用本機使用者的 ~/.ssh/id_rsa 作為 SSH 身分驗證用的私鑰,來連線遠端主機(如 k8s-master, k8s-worker1 等)ansible_python_interpreterall 群組)中,Ansible 將使用 /usr/bin/python3 來執行模組(像是 apt, copy, lineinfile 等等)1 2 3 4 5 6 7 8 9 10 11 12 13 14 15 16 17 18 19 20 21 all: children: k8s-masters: hosts: k8s-master: ansible_host: MASTER_IP ansible_user: ubuntu ansible_ssh_private_key_file: ~/.ssh/id_rsa k8s-workers: hosts: k8s-worker1: ansible_host: WORKER1_IP ansible_user: ubuntu ansible_ssh_private_key_file: ~/.ssh/id_rsa k8s-worker2: ansible_host: WORKER2_IP ansible_user: ubuntu ansible_ssh_private_key_file: ~/.ssh/id_rsa vars: ansible_python_interpreter: /usr/bin/python3
Multipass 初始化腳本配置 multipass launch 來建立並啟動VM環境 透過 multipass exec 方式可以將後續ansible要ssh自動連線的金鑰先寫入到VM中 設置 known_hosts,避免 SSH 連線時的 authenticity prompt 最後將inventory.template.yaml產生inventory.yaml,並透過multipass info查找對應VM IP設置 1 2 3 4 5 6 7 8 9 10 11 12 13 14 15 16 17 18 19 20 21 22 23 24 25 26 27 28 29 30 31 32 33 34 35 36 37 38 39 40 #!/bin/bash multipass launch jammy --name k8s-master --cpus 2 --memory 2G --disk 10G multipass launch jammy --name k8s-worker1 --cpus 2 --memory 2G --disk 10G multipass launch jammy --name k8s-worker2 --cpus 2 --memory 2G --disk 10G sleep 5 echo "\nMultipass Instances:" multipass list echo "\Set ssh key:" multipass exec k8s-master -- bash -c "echo '$(cat ~/.ssh/id_rsa.pub) ' >> ~/.ssh/authorized_keys" multipass exec k8s-worker1 -- bash -c "echo '$(cat ~/.ssh/id_rsa.pub) ' >> ~/.ssh/authorized_keys" multipass exec k8s-worker2 -- bash -c "echo '$(cat ~/.ssh/id_rsa.pub) ' >> ~/.ssh/authorized_keys" echo -e "\nAdd SSH keys to known_hosts to avoid authenticity prompt:" for vm in k8s-master k8s-worker1 k8s-worker2; do ip=$(multipass info $vm | grep IPv4 | awk '{print $2}' ) echo "Adding $vm ($ip ) to known_hosts" ssh-keyscan -H $ip >> ~/.ssh/known_hosts 2>/dev/null done MASTER_IP=$(multipass info k8s-master | grep IPv4 | awk '{print $2}' ) WORKER1_IP=$(multipass info k8s-worker1 | grep IPv4 | awk '{print $2}' ) WORKER2_IP=$(multipass info k8s-worker2 | grep IPv4 | awk '{print $2}' ) cp inventory.template.yaml inventory.yaml sed -i '' \ -e "s/MASTER_IP/${MASTER_IP} /g" \ -e "s/WORKER1_IP/${WORKER1_IP} /g" \ -e "s/WORKER2_IP/${WORKER2_IP} /g" \ inventory.yaml
Ansible 入口點(Site.yml)配置 採用 roles 模組化管理來設計
環境準備 clean 角色清除舊有 Kubernetes 設定common 角色執行所有節點的共通的初始化,如關閉 swap、安裝必要套件Master 節點設定 master 角色在 k8s-masters 群組執行,負責初始化control plane(如 kubeadm init)Worker 節點加入叢集 worker 角色讓 k8s-workers 群組的節點透過 kubeadm join 加入 Master 建立的叢集1 2 3 4 5 6 7 8 9 10 11 12 13 14 15 16 17 18 19 20 21 22 23 24 25 26 27 28 29 30 31 32 33 34 --- - name: Clean up Kubernetes environment hosts: all become: true roles: - clean - name: Prepare all nodes (common setup) hosts: all become: true roles: - common - name: Setup Kubernetes master hosts: k8s-masters become: true roles: - master - name: Join Kubernetes workers hosts: k8s-workers become: true roles: - worker
Ansible 環境變數配置 本次安裝過程需要定義 k8s版本,這邊透過group_vars/all.yml讓所有都可以使用到變數
1
2
3
k8s_version_full: '1.32.0-1.1' k8s_version_major_minor: "{{ k8s_version_full.split('-')[0] | regex_replace('^([0-9]+\\.[0-9]+).*', '\\1') }} " k8s_version: "{{ k8s_version_full.split('-')[0] }} "
Ansible Clean role K8s環境清理配置 roles/clean 角色的任務目的是清理節點設置,以便重新部署 Kubernetes
若已安裝 kubeadm,會執行 kubeadm reset -f 清除設定 移除與 Kubernetes 有關的目錄與檔案(如 /etc/kubernetes、.kube 等) 重新啟動 containerd 與 kubelet 服務,確保容器執行環境為最新狀態 roles/clean/tasks/main.yml 1 2 3 4 5 6 7 8 9 10 11 12 13 14 15 16 17 18 19 20 21 22 23 24 25 26 27 28 29 30 31 32 33 34 35 36 37 38 --- - name: Check if kubeadm is installed command: which kubeadm register: kubeadm_installed ignore_errors: true - name: Reset kubeadm if installed command: kubeadm reset -f when: kubeadm_installed.rc == 0 - name: Remove Kubernetes-related directories file: path: '{{ item }} ' state: absent loop: - /etc/kubernetes - /var/lib/etcd - /var/lib/kubelet - /var/lib/cni - /var/run/kubernetes - /root/.kube - /home/ubuntu/.kube - /opt/cni - /etc/cni - name: Restart container runtime systemd: name: containerd state: restarted enabled: true ignore_errors: true - name: Restart kubelet systemd: name: kubelet state: restarted ignore_errors: true
Ansible Common role K8s安裝前置配置 roles/common 負責所有節點需要共通執行的初始化設定,讓系統符合 Kubernetes 的安裝需求。
安裝基本套件與 containerd 設定 containerd 使用 systemd 作為 cgroup driver,與 Kubernetes 相容 停用 swap,Kubernetes 預設不支援在啟用 swap 的情況下運行,確保資源管理準確並避免效能不穩定 加入 Kubernetes 的 APT 套件來源,安裝指定版本的 kubeadm、kubelet、kubectl,並鎖定版本避免自動更新 啟用 IPv4 封包轉發,Linux 核心預設不允許在介面間轉送 IPv4 封包,啟用後能讓 Pod 跨節點通訊時,節點能正確轉送網路流量 roles/common/tasks/main.yml 1 2 3 4 5 6 7 8 9 10 11 12 13 14 15 16 17 18 19 20 21 22 23 24 25 26 27 28 29 30 31 32 33 34 35 36 37 38 39 40 41 42 43 44 45 46 47 48 49 50 51 52 53 54 55 56 57 58 59 60 61 62 63 64 65 66 67 68 69 70 71 72 73 74 75 76 77 78 79 80 81 82 83 84 85 86 87 88 89 90 91 92 93 94 95 96 97 98 99 100 101 102 103 104 105 106 107 108 109 110 111 --- - name: Install prerequisite packages apt: name: - apt-transport-https - ca-certificates - curl - gnupg - lsb-release state: present update_cache: yes - name: Install containerd apt: name: containerd state: present - name: Generate containerd config if not exists shell: | mkdir -p /etc/containerd containerd config default > /etc/containerd/config.toml args: creates: /etc/containerd/config.toml - name: Update containerd config to use systemd cgroup driver replace: path: /etc/containerd/config.toml regexp: 'SystemdCgroup = false' replace: 'SystemdCgroup = true' - name: Restart containerd systemd: name: containerd state: restarted enabled: true - name: Disable swap command: swapoff -a ignore_errors: true - name: Comment out swap in /etc/fstab replace: path: /etc/fstab regexp: '^([^#].*swap.*)$' replace: '# \1' - name: 建立 apt keyring 目錄 file: path: /etc/apt/keyrings state: directory mode: '0755' - name: 下載並轉換 GPG 金鑰為 .gpg 格式 shell: | curl -fsSL https://pkgs.k8s.io/core:/stable:/v{{ k8s_version_major_minor }}/deb/Release.key | gpg --dearmor -o /etc/apt/keyrings/kubernetes-apt-keyring.gpg args: creates: /etc/apt/keyrings/kubernetes-apt-keyring.gpg - name: 建立 Kubernetes APT repository copy: dest: /etc/apt/sources.list.d/kubernetes.list content: | deb [signed-by=/etc/apt/keyrings/kubernetes-apt-keyring.gpg] https://pkgs.k8s.io/core:/stable:/v{{ k8s_version_major_minor }}/deb/ / mode: '0644' - name: 更新 apt 快取 apt: update_cache: yes - name: 安裝指定版本的 kubeadm, kubelet, kubectl apt: name: - 'kubeadm={{ k8s_version_full }} ' - 'kubelet={{ k8s_version_full }} ' - 'kubectl={{ k8s_version_full }} ' state: present - name: 鎖定 Kubernetes 套件版本 dpkg_selections: name: '{{ item }} ' selection: hold loop: - kubelet - kubeadm - kubectl - name: Enable IP forwarding ansible.posix.sysctl: name: net.ipv4.ip_forward value: '1' state: present reload: yes
Ansible Master role K8s cluster初始化配置 roles/master 的任務負責將節點初始化為 Kubernetes control plane
透過 kubeadm config images pull 預先拉取所需Image (如apiserver、scheduler、etcd等) 使用 kubeadm init 建立 Control Plane,並指定 Pod CIDR 與 Containerd 為 Container Runtime 將 admin.conf 複製給 ubuntu 使用者,讓其能操作 kubectl 安裝 Calico 作為 CNI(Container Network Interface)插件,提供 Pod 間的網路功能 產生join command,讓後續 worker 節點可以加入叢集,並透過 set_fact 設為全域變數,供ansible worker VM存取 roles/master/tasks/main.yml 1 2 3 4 5 6 7 8 9 10 11 12 13 14 15 16 17 18 19 20 21 22 23 24 25 26 27 28 29 30 31 32 33 34 35 36 37 38 39 40 41 42 43 44 45 46 47 48 49 50 51 52 53 54 55 56 57 58 --- - name: Kubeadm config images pull command: kubeadm config images pull --kubernetes-version={{ k8s_version }} - name: Initialize Kubernetes master node command: kubeadm init --kubernetes-version={{ k8s_version }} --pod-network-cidr=192.168.0.0/16 --cri-socket="/run/containerd/containerd.sock" args: creates: /etc/kubernetes/admin.conf - name: Create .kube directory for ubuntu user file: path: /home/ubuntu/.kube state: directory owner: ubuntu group: ubuntu mode: 0755 - name: Copy kubeconfig to ubuntu user copy: src: /etc/kubernetes/admin.conf dest: /home/ubuntu/.kube/config remote_src: yes owner: ubuntu group: ubuntu mode: 0644 - name: 安裝 Calico CNI - 安裝 tigera-operator command: kubectl create -f https://raw.githubusercontent.com/projectcalico/calico/v3.29.3/manifests/tigera-operator.yaml become_user: ubuntu - name: 安裝 Calico CNI - 安裝 custom-resources command: kubectl create -f https://raw.githubusercontent.com/projectcalico/calico/v3.29.3/manifests/custom-resources.yaml become_user: ubuntu - name: Generate kubeadm join command command: kubeadm token create --print-join-command register: kube_join_command - name: Set join command as global fact set_fact: kube_join_command_global: '{{ kube_join_command.stdout }} ' run_once: true
Ansible Worker role K8s 加入Cluster配置 roles/worker 將 worker 節點加入叢集
透過 master 所生成的 join 指令 (kubeadm token create --print-join-command) 加入 利用 Ansible 的 hostvars 機制取得 k8s-master 節點中的 kube_join_command_global roles/worker/tasks/main.yml 1 2 3 4 --- - name: Join worker to cluster command: "{{ hostvars['k8s-master'].kube_join_command_global }} "
Ansible Playbook執行 1 ansible-playbook site.yml -i inventory.yaml
執行這段,會開始執行撰寫的playbook,也就是K8s環境佈建
當執行完畢後,我們到multipass去開master vm下kubectl get nodes,可以看到有1個master與2個worker節點在裡面